- Terms of connection
- Modem Review Yota 4G LTE
- Setting the modem Yota 4G LTE
- Modem Review Yota 4G LTE Wi-Fi
- Configure the device
- Mobile router Yota
- Testing
- Possible problems
- How to enter the modem or router Yota ?!
- I can not go to 10.0.0.1 - what to do?
In the rhythm of the modern world, we constantly need stable access to the Internet, and it is better if the Internet is fast and inexpensive. Some 7-10 years ago, all this seemed fantastic, but today this is quite real. For the organization of convenient, secure and affordable network, you can use the services of the company Yota.
Terms of connection
By opting for mobile web Yota, you need to decide on the tariff that will be used to connect. In total there are three types of tariffs for sim cards from Yota:
- At 2 hours and day. This option is suitable if you urgently need to access the Internet for a short period of time. For 2 hours of access to the network at maximum speed you will need to pay 50 rubles. During the day of access (also at maximum speed) you will have to pay 150 rubles.
- The monthly tariff is suitable for those who connect the Internet at home and prefer the classic payment option, as on a standard SIM card. The cost varies from zero to a thousand rubles. If you purchased only a modem, the speed will be limited to 128 kb / s, for 550 rubles it will grow to 1800 kb / s (the average version), and for a thousand you will get maximum speed with no restrictions.
- The annual tariff is suitable for those who want to pay once and never worry about paying for the Internet for at least a year. For 5400 rubles, you can secure an annual access to the Network at a speed of 5 Mbit / s. For 6900 you get unlimited Internet at a speed of 10 Mbps. The most expensive fare will cost 9000 rubles. Here are the same conditions, but without speed limits.
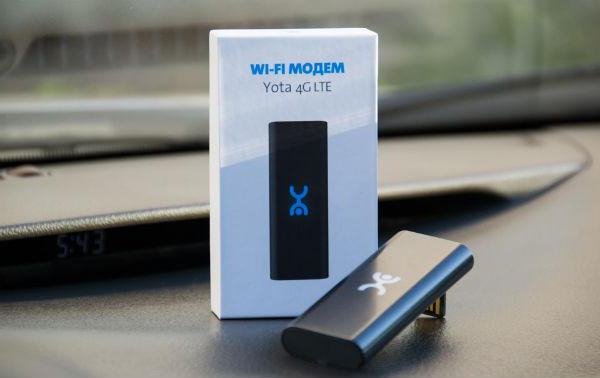
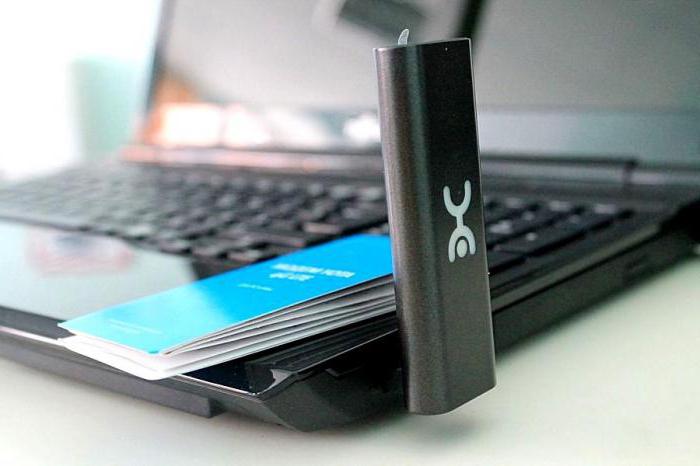
Modem Review Yota 4G LTE
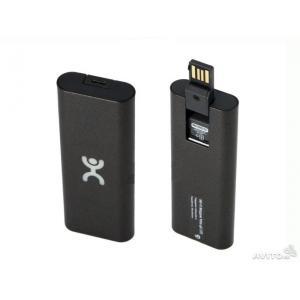
Yota 4G LTE - this basic model, the easiest in the lineup. The cost of the modem is 1990 rubles. The device works according to the standard wireless connectivity 802.11n at 2.4 GHz. The connection interface is USB 2.0. Dimensions - 92 x 13 x 35 millimeters. Weight - 50 grams. In fact, this is a great option for those who plan to go online with a single device.
Visually, the modem is similar to other similar devices - a kind of USB flash drive with a SIM card inside. This thing looks very stylish, you can easily carry it in your pocket, since the size and weight of a little more than the same flash drive. Swivel USB-port can not only protect the device from kinks and damage, but also install the modem in a convenient position so that it takes up less space in the horizontal plane.
Setting the modem Yota 4G LTE
Perhaps the most important advantage of Yota modems is support for Plug & Play technology. This means that when you first connect the device, a special driver will automatically load. No disks and extra media with software . Immediately after you have installed the modem in your computer, you need to open any web browser to go to the page with Internet access activation. The activation interface will prompt you to enter the phone number to which the SMS will arrive with a confirmation code. Therefore, it is important to use a valid phone number. This is usually enough to get started. However, you can specify a range of IP addresses obtained from a DHCP server.
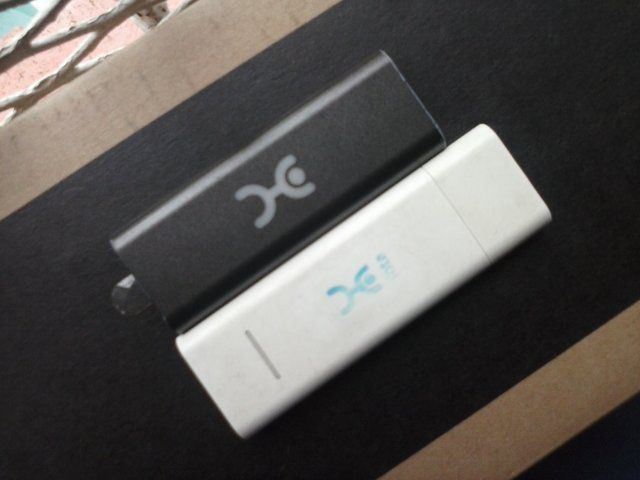
Modem Review Yota 4G LTE Wi-Fi
Yota 4G LTE Wi-Fi is a second-level modem. The cost of the device is 2990 rubles. The modem works according to the 802.11n communication standard at 2.4 GHz. To connect using the interface USB 2.0. Dimensions - 92 x 13 x 35 millimeters. Weight - 50 grams. The first model is severely limited in its capabilities, and during operation, Internet access is needed not only from a laptop or stationary computer but also with mobile gadget (smartphone or tablet). For this you need a router that will distribute the network to all the gadgets at once.
However, Yota engineers solved this issue by combining the basic modem with the simplest Wi-Fi router. By connecting such a thing to a laptop, you can set up an improvised wireless network and distribute the Internet to another 8 devices, and then initial setup You can even connect a modem router to any power source (for example, a car cigarette lighter) and distribute the network for yourself or friends in any room.
Configure the device
How do I configure the Yota 4G LTE Wi-Fi modem? The initial connection principle does not differ from that in other modems from Yota. It is enough to connect it to the computer, and the driver will be loaded automatically. After you need to open a web browser and again go through the activation procedure, enter your phone number, which will receive an SMS with a confirmation code. From now on, the laptop will be connected to the Internet. To start distributing the network to other devices, you need to open the status.yota.ru page or go to the settings in the same web interface.
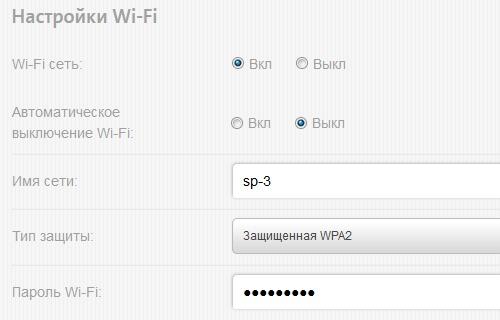
Setting up Wi-Fi, you can:
- turn on and off the network;
- force the modem to automatically stop distributing the Internet after disconnecting all devices except the main one;
- specify a name for the network;
- specify the type of protection that will be used during the connection (WEP and WPA2 are supported);
- specify a password to protect your network (standard eight-digit).
You can enter the Yota modem settings, as well as the Wi-Fi network settings, using the native desktop client for Windows and Mac. It is called Yota Access, it can be downloaded in the web interface.
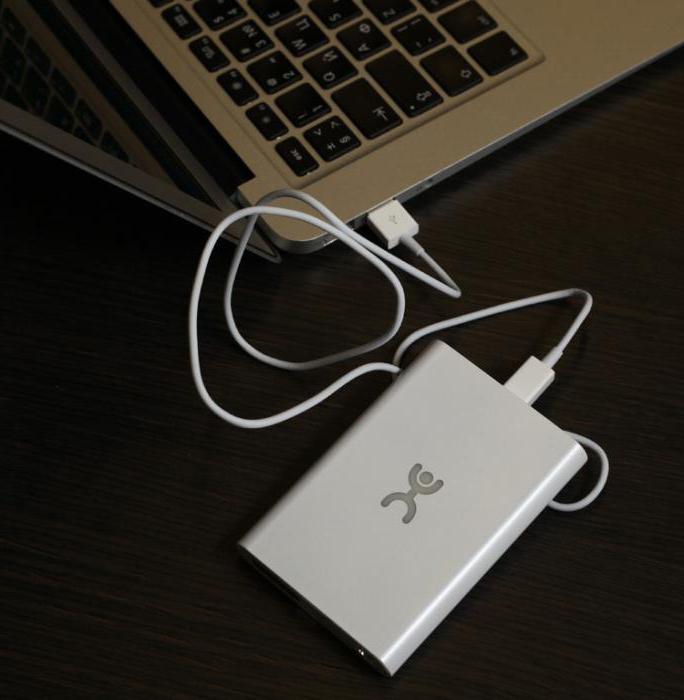
Mobile router Yota
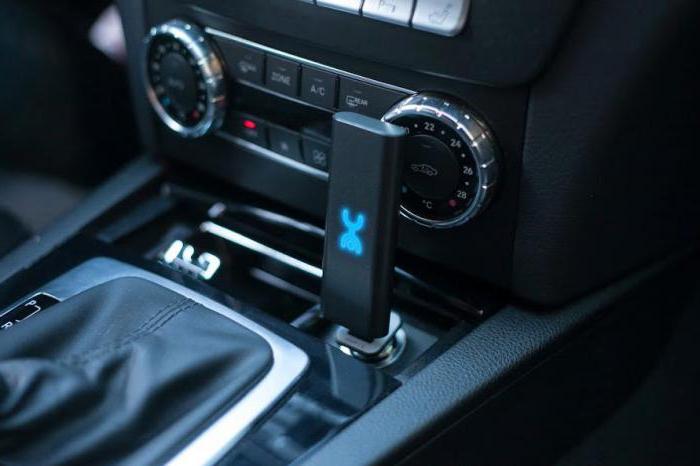
This is the most interesting gadget in the line, combining a modem and a router. An important feature of the device is a built-in battery, thanks to which it works without being connected to external power sources. Yota assures, is able to work from one charge up to 4 hours. Device configuration is almost the same as in the previous gadget.
The only thing is: when you first turn on the modem will automatically create an open Wi-Fi network to which you need to connect, to immediately start working or change the settings. Immediately after activation and confirmation, the user will have access to the settings of the name, password, encryption and other parameters. This is also the configuration of the Yota modem on a router of other manufacturers and such gadgets as Yota Ready.
Testing
In the course of independent testing on a MacBook computer with standard network parameters, it turned out that the speed of Yota modems is slightly lower than that of competitors, but at the same time sufficient for comfortable work, and coupled with the prices it is completely excellent. Within the premises on the ground floor, the Yota modem was able to accelerate to 5.5 Mbit / s during loading, and to 0.32 Mbit / s during unloading. Ping value stopped at around 51 milliseconds. On the street, the Yota modem was able to accelerate to 8.10 Mbit / s during loading and to 0.34 Mbit / s during unloading. Ping value stopped at around 47 milliseconds.
Possible problems
Even such a simple device, like the YOTA 4G LTE modem, sometimes does not function as expected. It so happens that you connect the modem to the computer, and nothing happens. This happens if the USB port is not functioning correctly or is simply simply disabled in the BIOS. If this is the case, no USB device will be identified in the controller. Also, problems arise when the modem is connected to computers that are running older versions. operating systems . For example, Windows XP does not always recognize the modem or does not support certain functions. To solve the problem, you should update the system or install a fresh driver package.
Bad connection problems can be solved by improving the signal. To do this, you should acquire a special USB extension cable and move the modem to a point in the room where the signal level is most stable. You can reset the settings of the Yota modem, as well as the Wi-Fi network settings, on status.yota. Other problems can be solved individually by contacting technical support Yota company. Employees are sure to explain all the configuration steps, help with connecting and solving all sorts of questions.
The Yota company is one of the largest providers in Russia, which provides Internet access using WiMax and 4G / LTE technologies. Gradually, the number of cities covered by the coverage area is becoming more and more. Therefore, users also have modems - more and more. In principle, there are no particular difficulties in working with them - everything is almost the same as that of others. mobile operators . Connection and configuration are simplified to the maximum so that the child can cope with it.
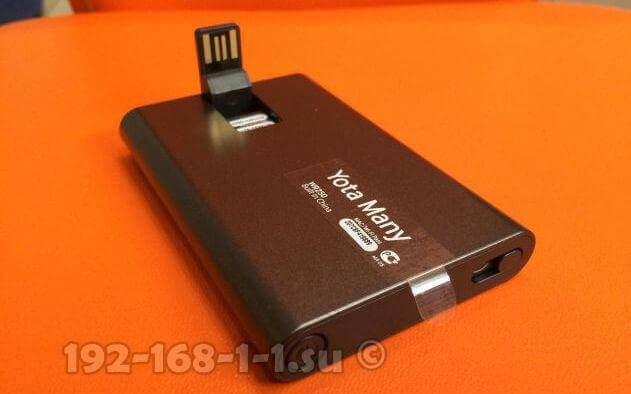
Also, in the arsenal of Yot network access devices, in addition to modems, there are mobile routers. A prime example is the Yota Many router. It will allow you to connect to the Internet not only the computer to which it is connected via USB, but also to distribute it to 8 devices via WiFi:
 \
\
By the way, on this model of Yot router, it became possible to quickly “share” the connection for friends using the Yota Share function, just by moving the switch slider.
At the same time, the battery lasts for 16 hours of active surfing in the global network.
How to enter the modem or router Yota ?!
On most Yota modems and routers, to enter the device’s web interface, simply enter in the browser address bar: http://status.yota.ru and press the Enter key.

If it does not work, then try to log into the personal account of the Yota router by entering the IP address in the browser - 10.0.0.1 :

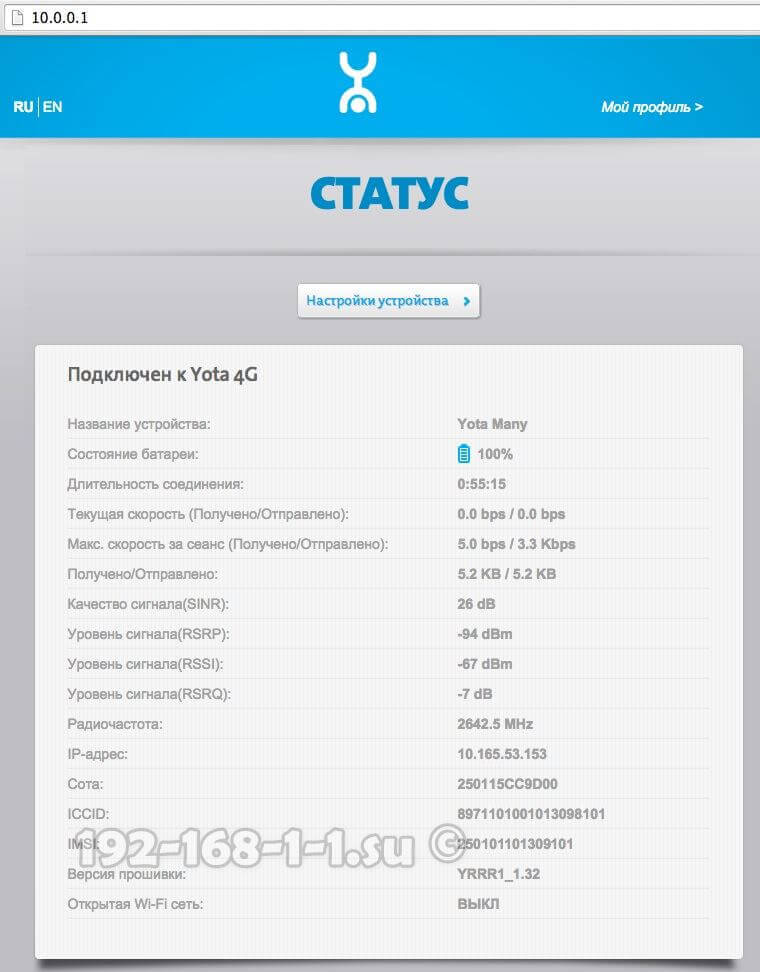
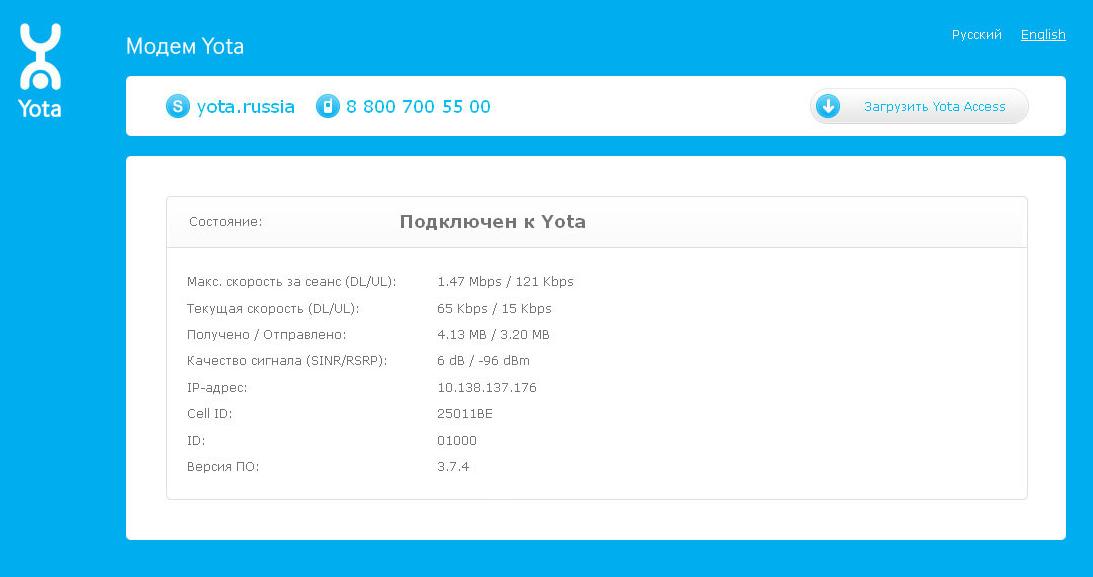
After that, in a normal scenario, the device’s web-interface should open:
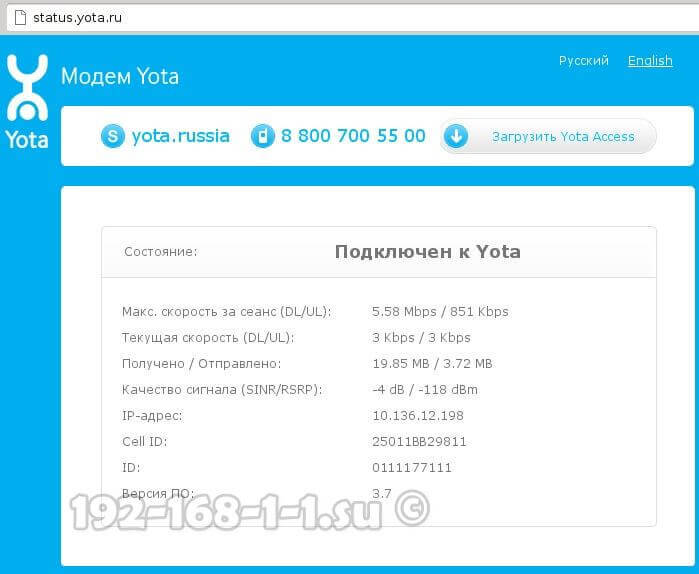
Here you can see detailed information about the current connection to the Yot network: IP address, identifier, quality of the radio signal, speed and amount of traffic received and sent.
Here are some more useful modem interface pages:
- http://10.0.0.1/manualupdate - manual firmware upgrade
- http://10.0.0.1/network - change the network settings of the modem
- http://10.0.0.1/dir - hidden device settings
- http://10.0.0.1/advanced - Advanced modem options: configure a DHCP server, port forwarding, etc.
In order to reflash a modem or router, before you go to the update page, first do not forget to download latest version firmware from the official site Yota.
I can not go to 10.0.0.1 - what to do?
There are three main reasons why it is impossible to make an entrance to http://10.0.0.1 or status.yota.ru.
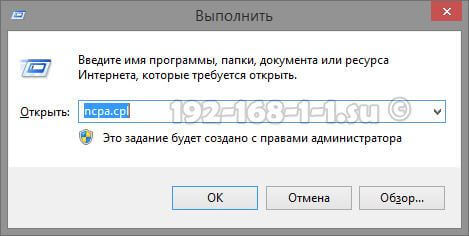
The first is to connect by local network , through which we connect to the router, a different IP address is registered. To check this you need to go to the network connect windows (press the Win + R keys and enter the ncpa.cpl command):
Once in the network connections, select the one through which you connect to the router. If it is connected via USB, then the LAN connection. And if on WiFi - then you need to select the icon " Wireless network ". Click on it with the right mouse button and select the item" Properties ":

Now you need to double-click the left mouse button on Internet Protocol version 4 (TCP / IPv4) to open this window:
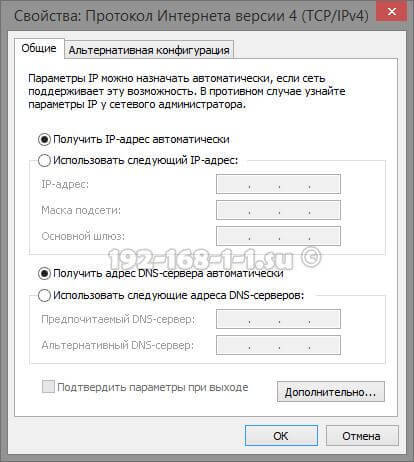
Verify that both the IP address and the DNS servers are selected automatic receipt addresses. We try to go to http://10.0.0.1.
The second reason is that the DHCP client service is disabled on the computer. No problem - write the address manually. Open TCP / IPv4 again:
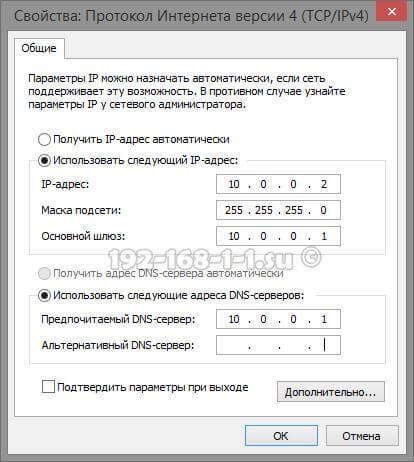
Put the checkbox "Use the following IP-address" and prescribe the following:
IP Address - 10.0.0.2
Mask - 255.255.255.0
Gateway - 10.0.0.1
Primary DNS Server - 10.0.0.1
Click on OK, we launch the browser again try to make an input on 10.0.0.1.
If after that go to Personal Area Yota router does not work, then most likely you have a third reason - hardware failure of the modem or router. Try to start to switch it to the next USB port of a computer or laptop. If it is connected via an extension cable, exclude it from the circuit for verification. If none of this helped, then it is most regrettable and most likely nothing can be done - you will have to carry it in service center to find out the reasons for device inoperability.
Yota modem setup
AT currently Yota company provides. LTE technology (Long-Term Evolution) uses a new kind of digital signal processing. This allows reducing signal delays, due to which it is possible to achieve uninterrupted network operation at speeds up to 100 Mbps.
Consider the modem setting and.
Both modems use Plug & Play technology when setting up. This means that you do not need to search and install drivers; when turned on, the installation takes place in auto mode .
Setting the modem Yota 4G LTE
General characteristics:
Type: 4G (LTE) modem
When you first connect the modem to the computer, the drivers will be installed automatically. Then, when you open the browser, a settings page will appear, where you will need to activate your profile. After pressing the "activate" button, you will be prompted to enter the phone number to which the SMS will arrive with a confirmation code. These settings are enough to start working on the Internet. Additionally, you can change the range of IP addresses issued by the DHCP server.
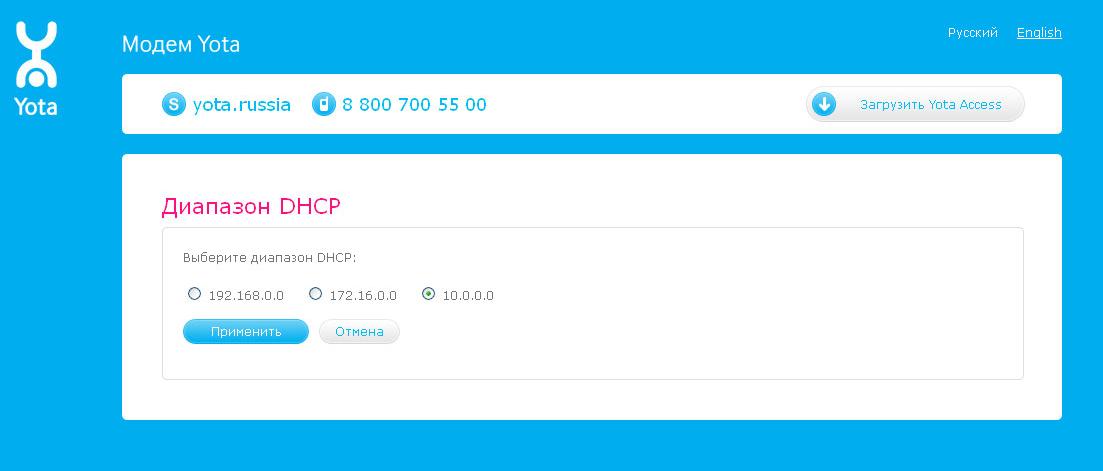
You can choose three options: 10.0.0.0, 192.168.0.0, 172.16.0.0. Also on the page http://10.0.0.1 available job statistics network yota and device information.
Configuring a Yota 4G LTE Wi-Fi Modem
General characteristics
Type: 4G / Wi-Fi access point (router)
Wireless standard: 802.11n, 2.4 GHz frequency
Built-in LTE support: yes
Connection Interface: USB 2.0
Information security: WEP, WPA, WPA2
Dimensions (WxHxD): 92x13x35 mm
The design and form factor of both modems are the same. The only difference is that the Yota 4G LTE Wi-Fi modem allows you to connect additional devices to the Internet using Wi-Fi technology.
To set up your Yota 4G LTE Wi-Fi, you need to connect it via USB to your computer and start the browser. On the activation page you will be prompted to enter a phone number. Further you will be sent an SMS with a verification code. The only difference is that for the Yota 4G LTE Wi-Fi modem you need to additionally configure Wi-Fi network . It is configured in the same web interface.
You will need to choose a network name, password and encryption type.
Possible problems when setting up or working modems Yota
Sometimes nothing happens when connecting and it may seem that the Yota modem does not work. Or devices can not connect via Wi-Fi. There are several reasons for such problems:
The USB ports on the computer are faulty or disabled in the BIOS. In this case, the modem is not detected in the device manager.
Weak signal or lack of access to the Yota network. This can be identified by the absence of the blue indicator light of the Yota logo on the modem, or in the web interface by the device status. If your home is located in the network reception area, then you should use a USB extension cable to find the best reception location.
Some outdated operating systems (for example, Windows XP SP2) do not see the Yota modem or do not support certain types of encryption, so it may be difficult to connect devices via Wi-Fi. You need to update the OS or install an additional driver package.
In general, if you experience problems with the connection or configuration, you can contact the technical support of the company Yota, where they will tell you how to connect the Yota modem, and help solve possible related problems.
What to do?How to enter the modem or router Yota ?
What to do?